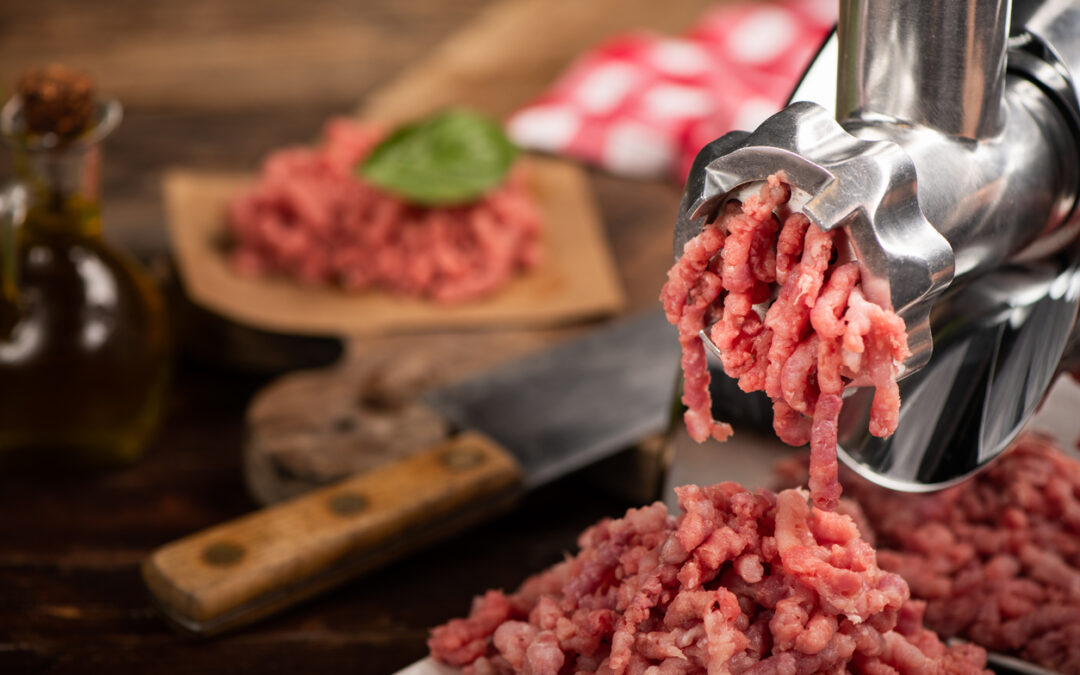
Introduction: Grinding your own meat at home offers a level of control and customization that store-bought options simply can’t match. Whether you’re aiming for the perfect burger blend or want to create your signature meatballs, having the right technique is essential. While many opt for a dedicated meat grinder, a food processor can be a versatile alternative, provided you know how to wield it effectively. In this guide, we’ll delve into the art of grinding meat using a food processor, ensuring you achieve the perfect texture and flavor every time.
Choosing the Right Cut: Before diving into the grinding process, it’s crucial to select the right cut of meat. Opt for well-marbled cuts like chuck, sirloin, or brisket, as they offer the ideal balance of fat and flavor. Aim for meat that is chilled but not frozen, as this will ensure smoother grinding and better texture.
Preparation: Proper preparation is key to achieving optimal results when grinding meat in a food processor. Begin by cutting the meat into smaller, uniform chunks, roughly one-inch in size. This will help the food processor grind the meat more efficiently and evenly. Additionally, ensure that your food processor and all its components are clean and dry before use to prevent any contamination.
Chilling: To prevent the meat from heating up during the grinding process, it’s essential to keep it cold. Place the meat cubes in the freezer for about 15-20 minutes before grinding. This will firm up the meat and make it easier to grind, while also reducing the risk of bacterial growth.
Grinding Process: Once your meat is adequately chilled, it’s time to start grinding. Begin by filling the food processor bowl with a manageable amount of meat, making sure not to overcrowd it. Overfilling the bowl can result in uneven grinding and a less consistent texture.
Pulse, Don’t Blend: When grinding meat in a food processor, it’s crucial to use short pulses rather than continuous blending. Pulse the food processor in one-second intervals, pausing between pulses to check the consistency of the meat. This method allows you to control the texture more effectively, preventing over-processing and ensuring a better final product.
Monitor Texture: As you pulse the food processor, keep a close eye on the texture of the ground meat. Aim for a coarse, evenly ground consistency, rather than a fine paste. Stop pulsing once the meat reaches your desired texture, being careful not to over-process.
Seasoning and Flavoring: Grinding your meat at home opens up a world of possibilities when it comes to seasoning and flavoring. Once the meat is ground to perfection, you can customize it to suit your taste preferences. Add your favorite herbs, spices, and seasonings to the ground meat, mixing gently to distribute the flavors evenly.
Storage and Usage: Once the meat is ground and seasoned, it’s essential to handle it properly to maintain freshness and flavor. Use the ground meat immediately or store it in the refrigerator for up to two days, or in the freezer for up to three months. Divide the meat into portion-sized packages before freezing for easy use later on.
Cleaning and Maintenance: After you’ve finished grinding your meat, don’t forget to clean your food processor thoroughly. Disassemble the food processor and wash all components with warm, soapy water, taking care to remove any meat residue. Allow the parts to dry completely before reassembling or storing to prevent mold and bacterial growth.
Conclusion: Grinding meat in a food processor is a convenient and cost-effective way to create custom blends with the perfect texture and flavor. By following these simple steps and mastering the art of pulsing, you can achieve professional-quality results in the comfort of your own kitchen. Experiment with different cuts of meat, seasonings, and flavor combinations to discover your signature blend, and elevate your homemade dishes to new heights. With the right technique and a bit of practice, you’ll soon be grinding meat like a pro.


Recent Comments